This year I finally got to create a garden outside! After keeping plants in pots in all my windowsills through school, it was wonderful to let them grow to their potential under the sun's full light. Not having to worry about watering them every week was nice too.
I decided to start small with one raised garden bed. That way it would stay manageable, and I could always expand in the future. With help from my boyfriend and his dad, I built and placed a 4-ft by 8-ft bed that extended a little over a foot up from the ground. We bought a few bags of garden soil to get things started.
 |
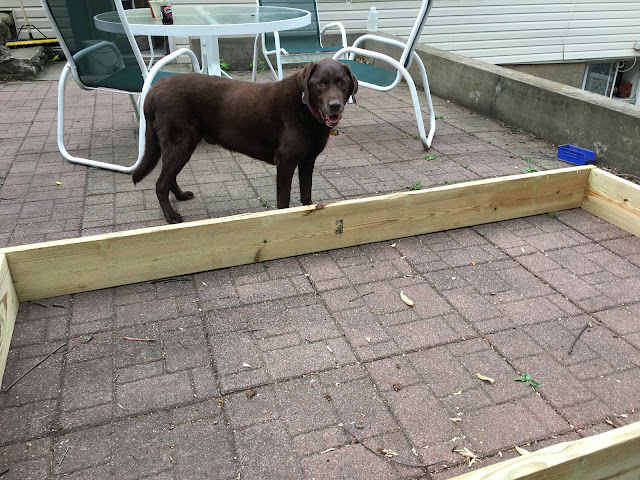
| Here's Coco, performing his supervisor duties as I screw the boards together for the garden frame. |
 |
| The ground is a little uneven, so Ed digs along the edges of where the bed will be placed. |
 |
| "Really? Right here? You know this is my prime pooping spot." |
Instead of starting things from seed like I usually do with my other experiments, I decided to buy some starter plants this year. It was better for the timing, and I didn't have the time or space (or planning capabilities) to grow my own seedlings this year. After a shopping spree at Home Depot with a gift card from my parents - last year's Christmas gift - we came home with 10 various nightshades, as well as a few random herbs and strawberries.
 |
| Nightshades staged in their future homes. Starting in the front and moving clockwise: two Roma tomatoes, jalapeno, serrano, red bell pepper, purple bell pepper, green bell pepper, purple Cherokee heirloom tomato, Thai chili, and another jalapeno. |
After a few weeks of growth, it was clear that the Romas were going to need some extra support - they grow fast! I found a few old tomato cages under the porch to help them along their way. Everything got established well, we didn't lose any plants.
 |
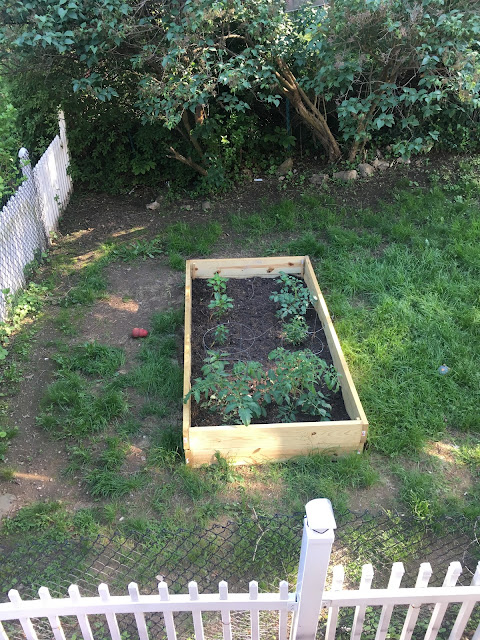
| A view of the garden from above. You can see just how big the tomatoes are compared to the other plants. |
 |
| Another view to include some more of the yard. Look to the top right: Behind the concrete wall is where I planted my herbs and strawberries. |
It wasn't a long wait before everything started flowering, and where there are flowers there is soon fruit! I mostly just took pictures of the tomatoes, which I'm still trying to understand, because I don't even really like tomatoes that much. At least not raw. I think part of the excitement is that of growing something new and learning in the process. There are also many different things to make with tomatoes that I do like, such as spaghetti sauce and ketchup. I picked a sauce variety for this reason.
 |
| The first blooms on my Roma tomato plant. |
 |
| Roma tomato setting fruit! |
 |
| Check out these big boys! |
Sadly, I only ever got to harvest a few tomatoes, despite having two large, productive plants. The problem? The dog kept eating them before I got a chance to harvest! The day after I took that last photo above, those beautiful tomatoes were gone. That's how it was all summer: every time anything got close to ripening, Coco would sneak into the garden and gobble it up.
As I learned through a little bit of research, green tomatoes are not good for dogs. The chemical solanine is present in the green parts of nightshades; this is the reason why green potatoes are inedible. This compound is no longer present once the tomatoes ripen, but until then they're not a good thing to feed the pup. I did what I could with my available resources to keep him out, but it was nothing against the determined, constant hunger of a Lab.
Next year I'm putting up a fence.
Until next time,
Jess


